Introduction
Pelican is a great static site generator. A static site generator is a tool that users a number of input files to generate a complete html site. No database or server side scripting is needed for the resulting site, that’s why many such sites are hosted on github pages (more on this later).
The input contains a number of html templates, css styles and the actual content of the site which most of the time is written in a lightweight markup language like reStructuredText or Markdown. The static site generator will generate the static pages by inserting the content in the appropriate places in the templates.
In the following sections we will describe the installation of pelican on Windows and the creation of the spapas.github.io site.
Installing pelican and generating a skeleton for your site
The official pelican quickstart can be found in http://docs.getpelican.com/en/latest/getting_started.html
To install pelican just enter:
>pip install pelican
After installing pelican, I propose creating a parent directory that will contain all your pelican sites, along with extra themes and plugins like this:
pelican/
  ├── pelican-themes
  ├── other-pelican-theme
  ├── spapas.github.io
  └── other-sites
After creating the pelican directory just go in it with a command line and run the pelican-quickstart command. It will ask you a number of questions, take a look at how I did answer these:
pelican>pelican-quickstart
Welcome to pelican-quickstart v3.2.2.

This script will help you create a new Pelican-based website.

Please answer the following questions so this script can generate the files
needed by Pelican.


> Where do you want to create your new web site? [.] spapas.github.io
> What will be the title of this web site? Test github.io
> Who will be the author of this web site? Serafeim
> What will be the default language of this web site? [en]
> Do you want to specify a URL prefix? e.g., http://example.com   (Y/n)
> What is your URL prefix? (see above example; no trailing slash) http://spapas.github.io
> Do you want to enable article pagination? (Y/n)
> How many articles per page do you want? [10]
> Do you want to generate a Makefile to easily manage your website? (Y/n) n
> Do you want an auto-reload & simpleHTTP script to assist with theme and site development? (Y/n) n
Done. Your new project is available at C:\progr\py\pelican\spapas.github.io
After that, you will have a pelican/spapas.github.io folder that will contain the following content:
spapas.github.io/
  ├── content
  ├── output
  ├── pelicanconf.py
  └── publishconf.py
The content folder will contain your content (rst or markdown), the output will contain the generated html after you run pelican for your site. The pelicanconf.py will have a number of options for the generation of the development version of your site while the publishconf.py will override some of the options of pelicanconf.py before generating the production version of your site that will actually be uploaded to github pages.
Modifying pelican tools for windows
Pelican uses a Makefile and a unix shell script to generate the static html files and start an http server for development. Because I prefer to use windows, I answered no to the questions of generating these when pelican-quickstarte asked me. Instead I have included the following files inside the spapas.github.io directory:
- pelrun.bat, to generate the content for your debug site in the output directory:
pelican content --debug --autoreload --output output --settings pelicanconf.py
- pelserve.bat, to localy serve the generated debug site:
pushd output
python -m pelican.server
popd
- pelpub.bat, to generate the production site in the output directory:
pelican content --output output --settings publishconf.py
Now, when you want to develop your site locally, enter:
spapas.github.io>start pelrun.bat
spapas.github.io>start pelserv.bat
If everything was ok until now, you can visit http://127.0.0.1:8000 and will get the following output:
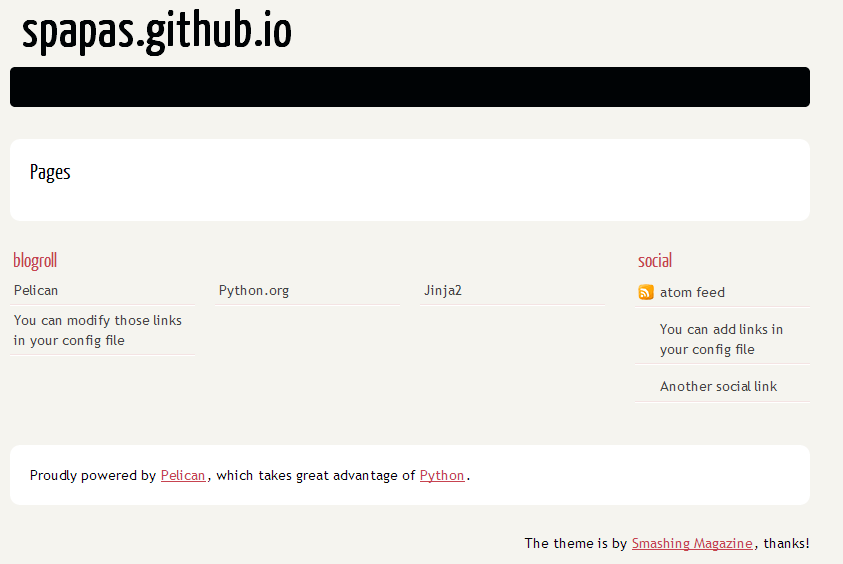
Because of the -r option that is used in pelrun.bat whenever you do a change (for instance when you add an rst file in the content directory) it will be discovered and the output will be changed immediately!
Configuration of your skeleton site
Settings
There is a number of settings that you may configure in your site. The pelican settings reference can be found here: http://docs.getpelican.com/en/latest/settings.html. The pelicanconf.py and publishconf.py for this site can be found here:
https://github.com/spapas/spapas.github.io/blob/source/pelicanconf.py https://github.com/spapas/spapas.github.io/blob/source/publishconf.py
The most important difference is the RELATIVE_URLS directive which must be True to the debug and False to the production.
Themes
Beyond the default pelican theme, you can use configure pelican to use various other themes. To enable them, go to your pelican parent directory and clone the pelican-themes github repository:
pelican>git clone https://github.com/getpelican/pelican-themes.git
After that, you may select your theme from pelicanconf.py:
THEME = "../pelican-themes/theme-name"
In my configuration, I am using the Octopress Theme for Pelican, which you may get from here https://github.com/duilio/pelican-octopress-theme. Just clone it to your pelican directory and refer to it as above.
Plugins
Pelican has a number of plugins. To enable them, go to your pelican parent directory and clone the pelican-plugins github repository:
pelican>git clone https://github.com/getpelican/pelican-plugins.git
After that, you may add the following two lines to your pelicanconf.py:
PLUGIN_PATH = '../pelican-plugins'
PLUGINS = ['a-plugin']
Hosting in github pages
To host your static site in github pages you must first of all create a repository named username.github.io (for instance spapas.github.io) from github.
Then, generate your production output:
spapas.github.io>pelpub.bat
Finally, go to your output directory, create a git repository, add everything and push it to your repository:
spapas.github.io\output>git init
spapas.github.io\output>git add .
spapas.github.io\output>git commit -m Initial
spapas.github.io\output>git remote add origin https://github.com/spapas/spapas.github.io.git
spapas.github.io\output>git push origin master --force
The —force is to overwrite any previous versions - you don’t care about version control on your output (but you want it on your source).
You can now visit http://username.github.io and see your statically generated site !
Don’t forget to add your source to the version control! To do that, add a .gitignore file in your pelican/username.github.io direcory containing the following:
output
The above file will ignore the contents of the output directory from version control. After that, do the following:
spapas.github.io>git init
spapas.github.io>git add .
spapas.github.io>git commit -m Initial
spapas.github.io>git branch -m master source
spapas.github.io>git remote add origin https://github.com/spapas/spapas.github.io.git
spapas.github.io>git push origin source
The above will rename the master branch to source, will attach the origin remote to https://github.com/spapas/spapas.github.io.git and will push the source branch to it. Now you will have two branches in your username.github.io repository. One named origin/master that will be your actual site and will be displayed through http://username.github.io and one named origin/source that will contain the source of your site.
To learn more about branches and remotes you may check out the git branches article.
Publishing changes
Whenever you need to publish a new article or do changes to an existing one, you need to do the following:
- Run pelpub.bat to create the new output
- Add/commit and push changes from your pelican site(source) folder to the source remote
- Add/commit and push changes from your output folder to the master remote
To help with this, here’s a ghdeploy.bat file that does all the above:
call pelpub.bat
git add -A
git commit -m "Deploying changes"
git push origin source
pushd output
git add -A
git commit -m "Deploying changes"
git push origin master
popd
If you’ve followed this far, by running pelpub.bat you’ll need to enter your github repository credentials (twice) and then everything (source and master) will be deployed! To make things even better, I propose to use ssh based authentication to your github account and add new remote names to your source and master by running the following:
git remote add origin2 git@github.com:spapas/spapas.github.io.git
to your pelican site and the output directories. After you change ghdeploy.bat to use origin2 instead of origin you’ll be able to deploy everything with just running it without entering any credentials!